Creating Returns Using the Main Information Worksheet
To create returns using the Main Information Worksheet verify the "Show me the list of forms when creating a new return" check box is cleared in the Return Manager Preferences. This check box is not selected by default.
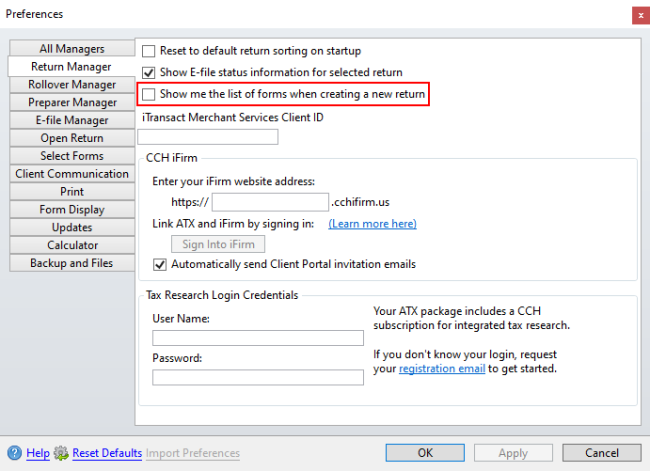
Return Manger Preference is cleared
To start a new return:
- From Return Manager, do one of the following:
- Click the New button on the toolbar.
- Click the Returns menu; then, select New Return.
- Press Ctrl+N.
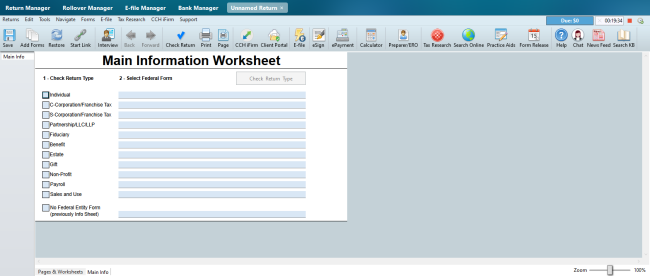
New return
- Select the check box indicating the type of return.
- Select the Federal form for the return from the drop-down list.
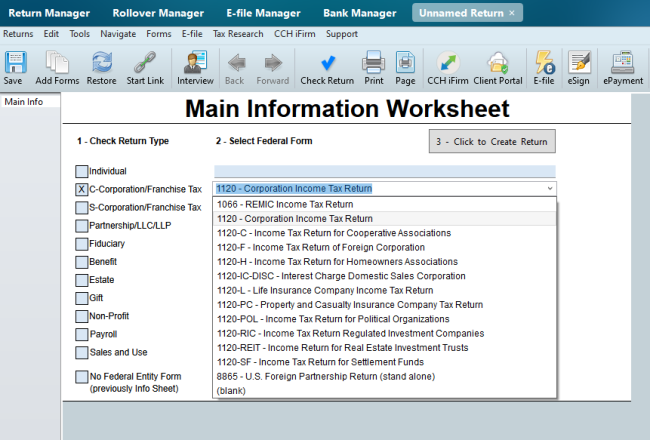
Example of drop-down for Federal Form
- Click the Click to Create Return button.
If you use CCH iFirm you are able to import client contact information when starting a new return. See Import CCH iFirm Contact Data into a New Return
- Enter the demographic information on the Main Information Sheet.
- Click the State Info tab to add a state to the return.
The client data will flow into all forms in the return plus insert appropriate forms based on the client's data.
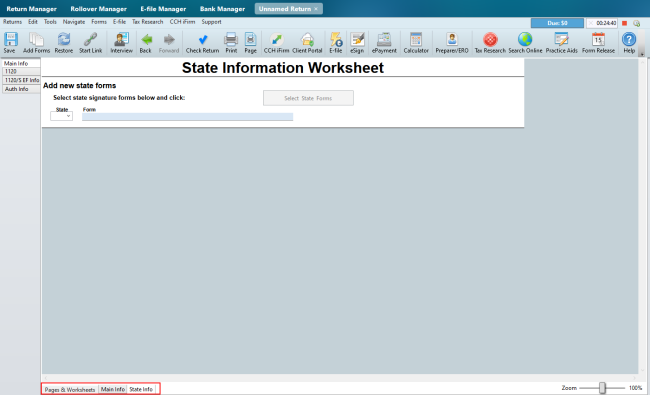
Example of State Information Worksheet
- Click Add Forms to add any additional forms.
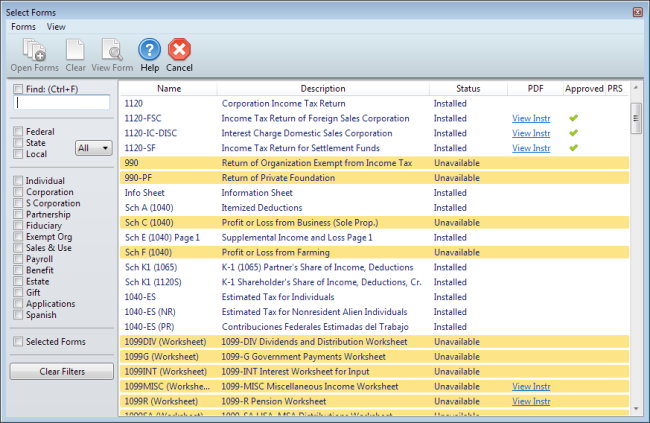
Select Forms dialog box
- Highlight the form(s) you want to add to the return.
To select multiple forms, simply click each desired form.
- Click the Open Forms button on the Select Forms toolbar.
If you use CCH iFirm you are able to import client contact information when starting a new return. See Import CCH iFirm Contact Data into a New Return.
- Complete the necessary tax form(s).
To save the new return:
- Do one of the following:
- Click the Save button on the toolbar.
- Click the Returns menu; then, select Save Return.
- Press Ctrl+S.
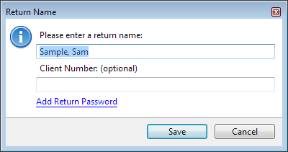
Return Name dialog box
By default, ATX names the return for the Taxpayer (and Spouse, if applicable).
- Do one of the following:
- Accept the default name and click Save.
- Enter a new name for the return; then, click Save.
See Also: